What if I told you that you don’t need to shell out big bucks to get started? That’s right, I’m talking about a DIY potter’s wheel. You can make one yourself, and this guide is all about how to do it without breaking the bank or your back.
Pottery is a fun and rewarding hobby that can be enjoyed by people of all ages. It’s a great way to relax and express your creativity. And if you’re a bit handy, you can even make your own potters wheel at home.
There are a few different ways to make a DIY potters wheel, but the most common method is to use a motor and a turntable. You can find these items at most hardware stores.
Once you have your materials, you can start assembling your potters wheel. First, attach the motor to the turntable. Then, mount the turntable on a frame. You can use wood, metal, or even PVC pipe to build the frame.
What is Potters Wheel?
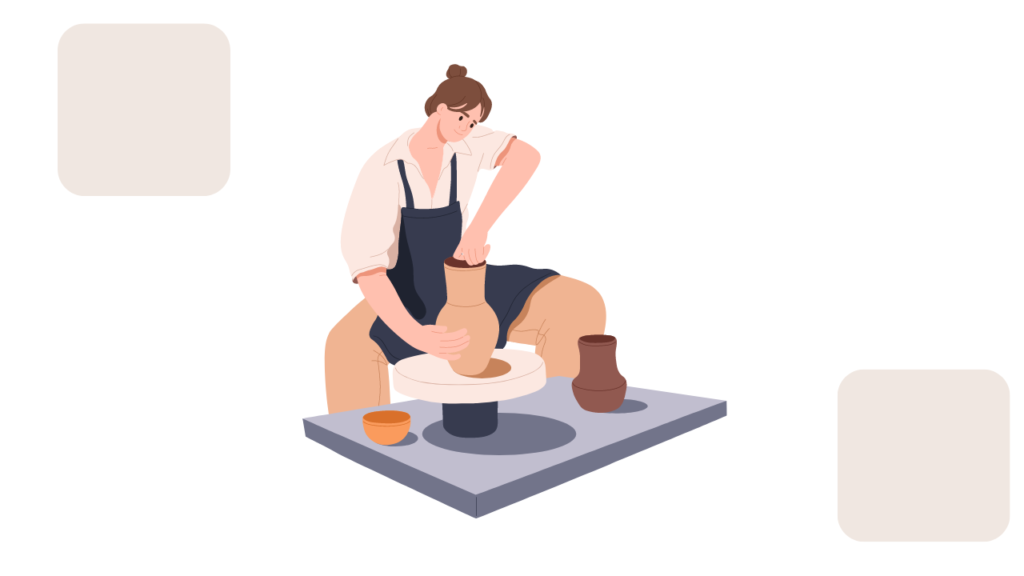
A potter’s wheel is a tool that potters use to shape clay into pottery items such as pots, vases, bowls, and plates.
It’s like a round table that spins around. The potter places a lump of clay in the middle of the wheel.
As the wheel rotates, the potter uses their hands to mold and shape the clay.
This action requires skill and practice to create balanced, symmetrical pottery.
The wheel can be powered manually by kicking or using a foot pedal, or it can be electrically powered to keep it spinning smoothly.
How To Build A Potters Wheel- Guide

What do you need?
My adventure began with a trip to the local hardware store. Here’s what I needed to gather for my DIY potter’s wheel:
Plywood: Look for a sturdy piece of plywood that’s about 2 feet in diameter. This will be the base of your wheel.
Bearings: You’ll need two high-quality ball bearings. These will provide smooth rotation for your wheel.
Shaft: Find a strong metal shaft, around 1 inch in diameter, to connect the wheel head and the base.
Wheelhead: Look for a circular piece of wood or plastic that fits comfortably on top of the shaft. This is where you’ll place your clay.
Motor: If you want an electric-powered wheel, search for a small motor with adjustable speed control.
Belts and Pulleys (optional): If you choose an electric motor, you’ll need belts and pulleys to connect the motor to the wheel head.
How To Make DIY Potters Wheel: Step By Step Guide

1. Constructing the Base
Using my trusty jigsaw, I carefully cut out a perfect circle from the plywood.
This became the solid foundation of my potter’s wheel. Remember, precision is key, so take your time and make sure your circle is smooth and even.
Next, I positioned the ball bearings on the base, ensuring they were placed at equal distances from the center.
I secured them firmly using screws, ensuring they spun freely without any wobbling.
2. Assembling the Wheelhead
With the base ready, I attached the metal shaft to the center of the wheel head.
I drilled a hole through the center of the wheel head and slid the shaft into place.
I then secured it with bolts and tightened them with a wrench.
3.Connecting the Wheelhead to the Base
Now came the exciting part – connecting the wheel head to the base!
I carefully aligned the shaft with the ball bearings on the base.
With a little bit of elbow grease, I managed to fit the shaft into the bearings snugly.
The wheel head now sat firmly on top of the base, ready to spin!
4.Adding Power (Optional)
To give my potter’s wheel some extra oomph, I opted for an electric motor.
I positioned the motor next to the base and used belts and pulleys to connect it to the wheel head.
This allowed me to control the speed of rotation using the motor’s adjustable speed control.
5.Finishing Touches
To ensure stability and prevent any wobbling, I added rubber feet to the base of my potter’s wheel.
This provided a good grip and reduced vibrations during use.
Finally, I gave the entire wheel a thorough inspection, making sure all the components were securely fastened and functioning properly.
It was time to put my homemade potter’s wheel to the test.
Do I need special tools to build the potter’s wheel?
Basic carpentry tools should suffice, such as a drill, saw, screwdriver, and measuring tape. You’d also need wood screws, bearings, and a pulley system if you want to make a kick wheel.
How do I power a potter’s wheel?
There are two options, either mechanically through a kick wheel or electrically via a motor. For the first, you use your feet to kick the wheel into motion, for the latter an electric motor spins the wheel.
How big should my potter’s wheel be?
That depends on your workspace and what size pottery you plan on making. Typically, a wheel head diameter of 12-14 inches should be fine for most people.
Final Word
Creating my own potter’s wheel was an exceptionally gratifying journey. It gave wings to my artistic side and let me save quite a chunk of money in the process.
Armed with a handful of simple materials, a few tools, and a pinch of patience, you can also bring to life your own practical potter’s wheel.
![Best Paint Brush for Oil Based Paint [Top 5 Pick]](https://simplyminiatures.com/wp-content/uploads/2023/05/Best-Paint-Brush-for-Oil-Based-Paint-768x432.png)
![How to Remove Oil Paint from Brushes Without Paint Thinner [Expert Guide]](https://simplyminiatures.com/wp-content/uploads/2023/04/pexels-yigithan-bal-1108532-768x512.jpg)

![Best Sandpaper for All Miniatures Project [2023 Updated]](https://simplyminiatures.com/wp-content/uploads/2023/05/Best-Sandpaper-for-All-Miniatures-Project-768x432.png)